
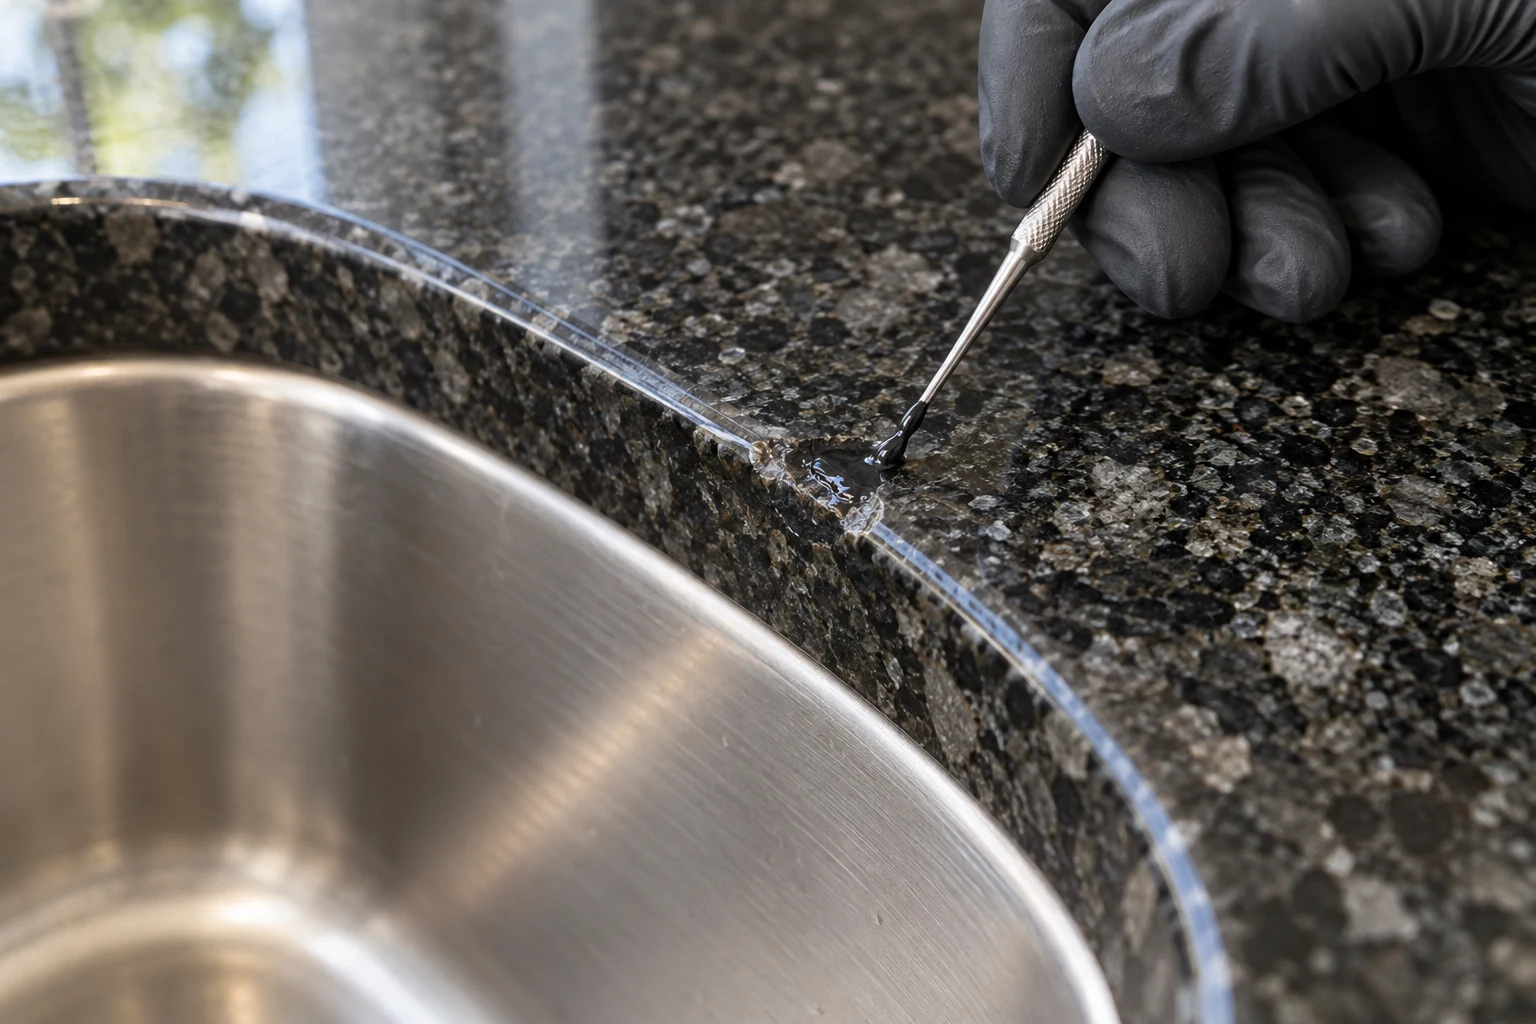
Identify the fitting detail
Send an overhead view and a side view showing whether the sink is topmount or undermount. A rim can conceal part of the damage, and an exposed polished edge has different finishing expectations from an edge covered by a fitting.
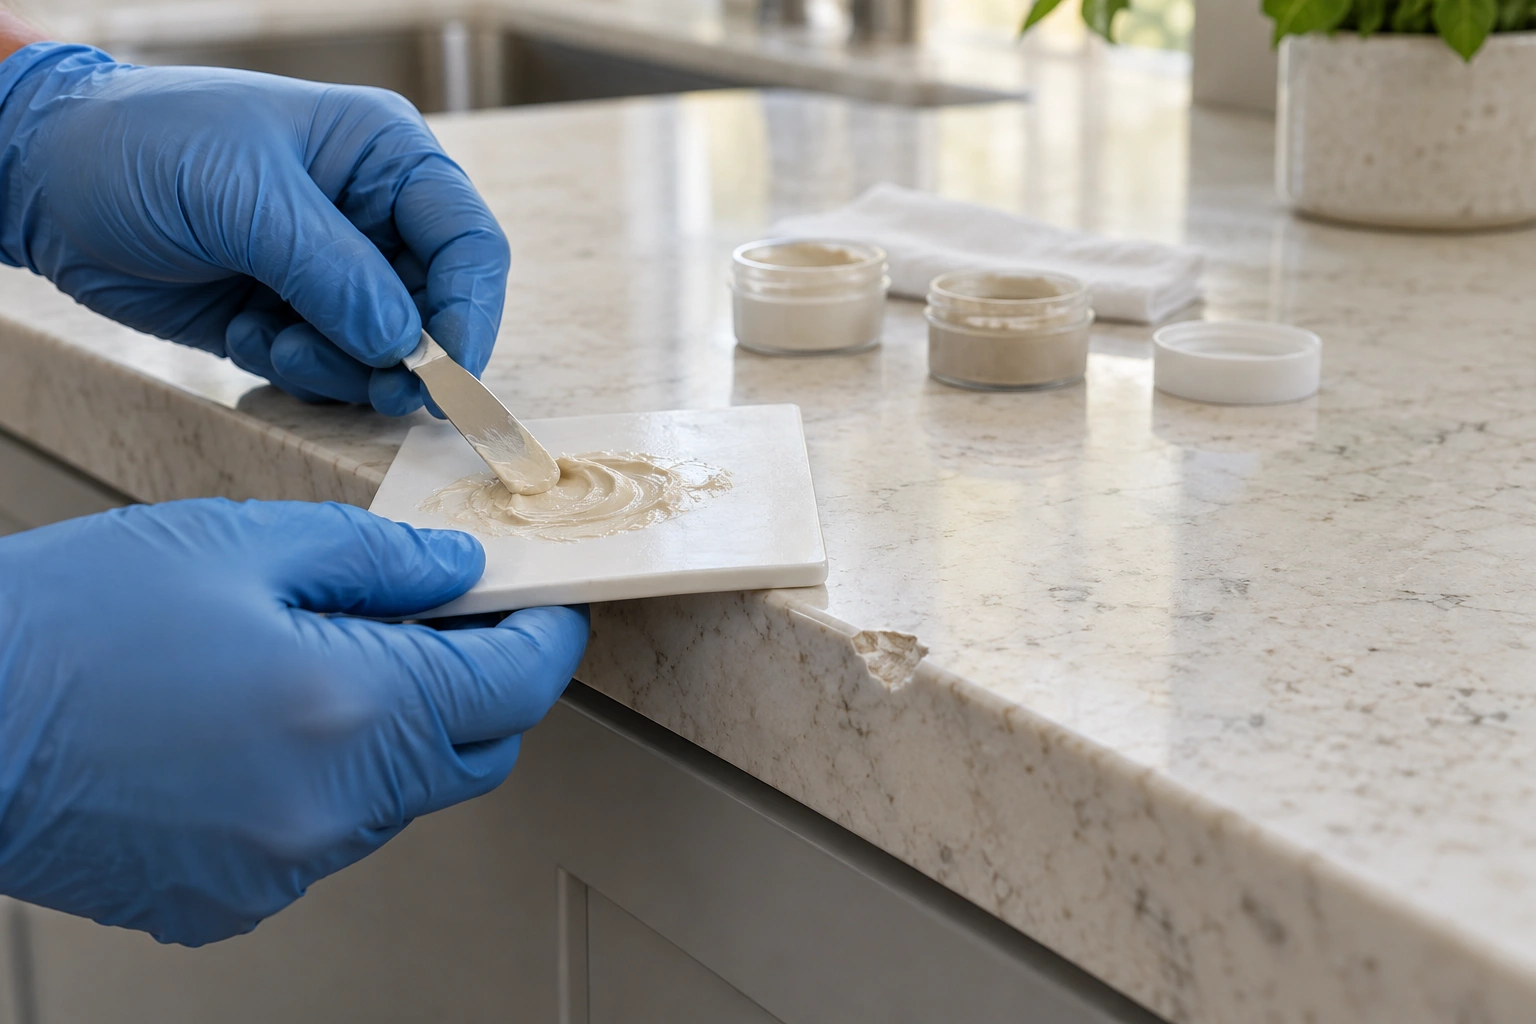
Check for associated damage
Look without disturbing the stone for a line extending from the chip, loose material or an old repair. Tell the team if the sink or cabinet has moved. A cosmetic fill is not a substitute for assessing a crack or support issue.
Coordinate any removal
Do not disconnect plumbing or remove the sink simply to obtain a quote. The assessment will establish whether access is adequate and what other trades are needed. Keep any loose fragment safely for discussion.
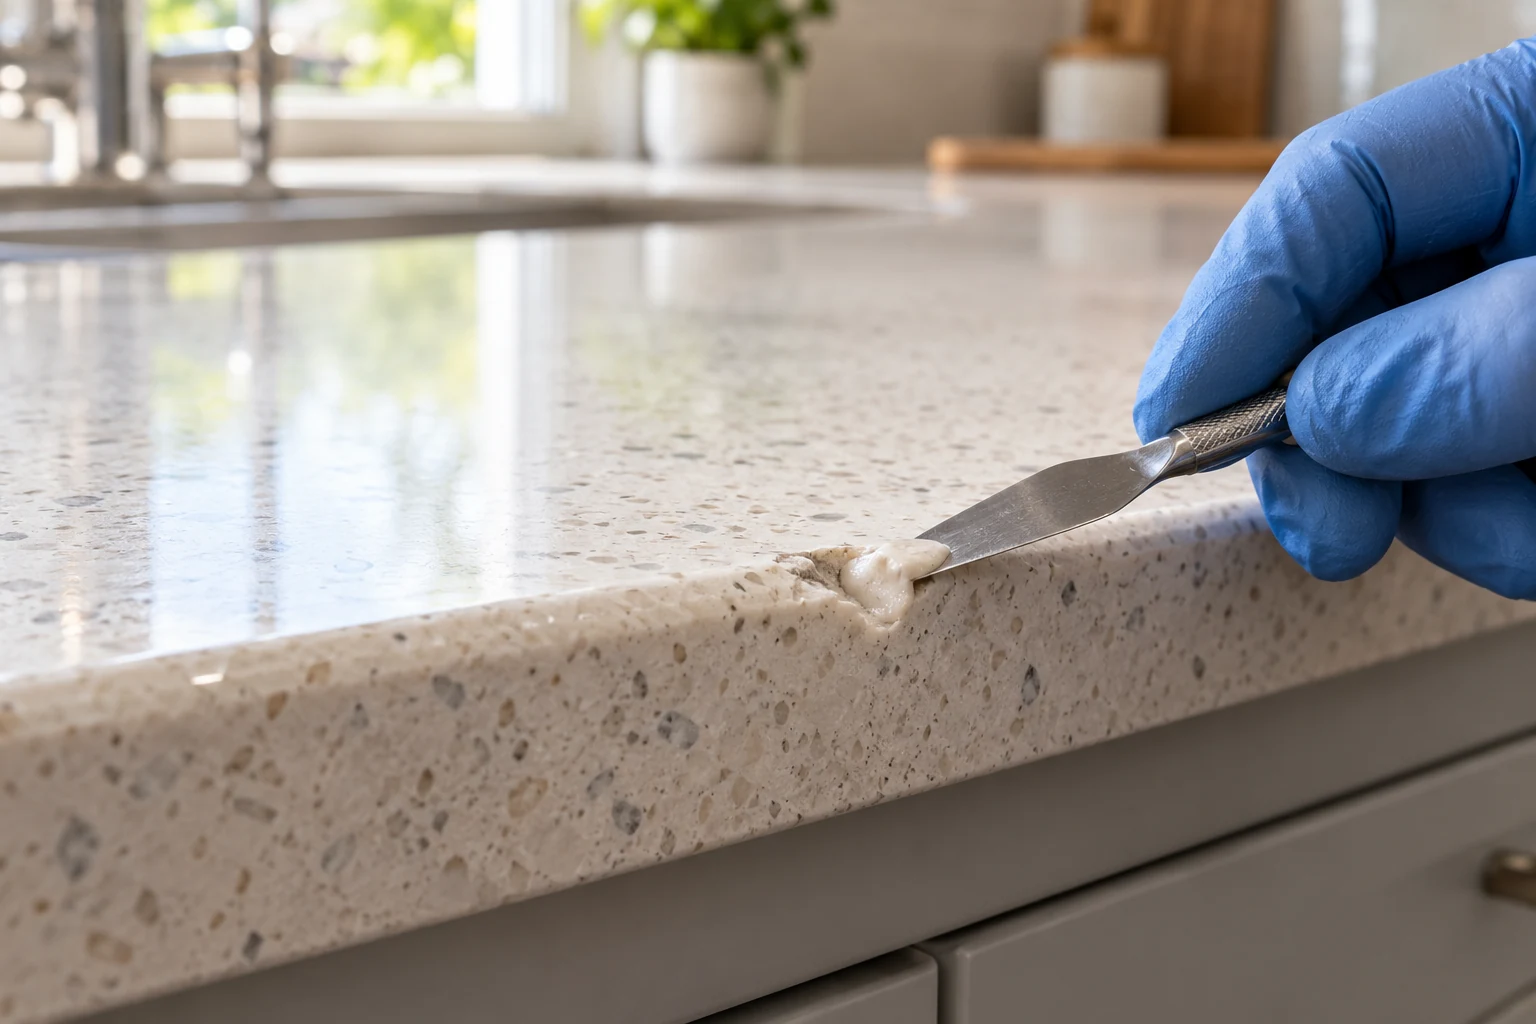
Topmount and undermount expectations
A topmount rim may cover part of an opening, while an undermount arrangement exposes more of the stone edge. That changes what is visible and how access is assessed. Do not assume that removing the rim will reveal only the chip already photographed. If the fitting was recently replaced, include photos from before and after that work where available.
A useful quotation checklist
Ask which damaged points are included, whether fitting removal is required and who is organising plumbing. Confirm whether the repair affects the face, edge or both, and what visible difference may remain. A crack continuing from the sink corner should be identified separately rather than hidden within a request to repair a chip.
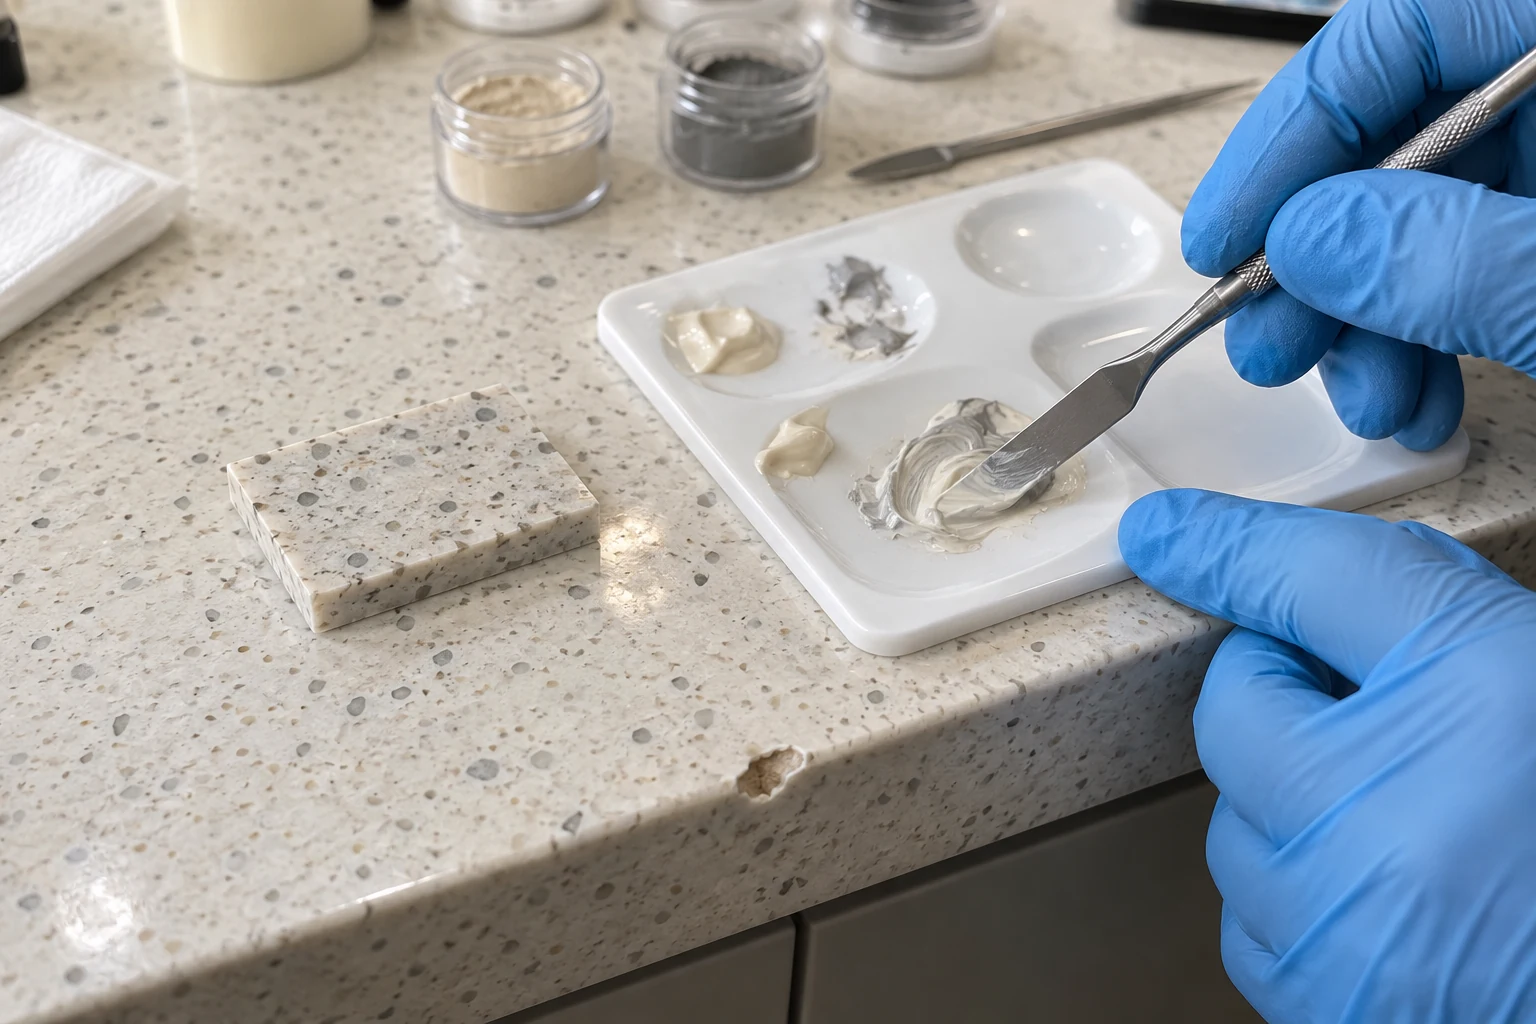
A closer look
Details of the work.
Questions, answered.
What is the next step?
Send photos, your suburb and the relevant material or fitting details. The team will clarify the proposed work, its limitations and the quote before an appointment is agreed.